Smart home design, energy efficiency, and connected lighting guidance.

Author: June Park

  • How to Choose the Right Smart Thermostat for Your Home

    How to Choose the Right Smart Thermostat for Your Home

    Smart thermostats can be a tiny upgrade with a surprisingly loud personality. Done well, they help your heating and cooling behave a little more like a considerate roommate and a little less like a mystery machine with trust issues. Done poorly, they become an expensive wall decoration that still lets the house roast or freeze on command.
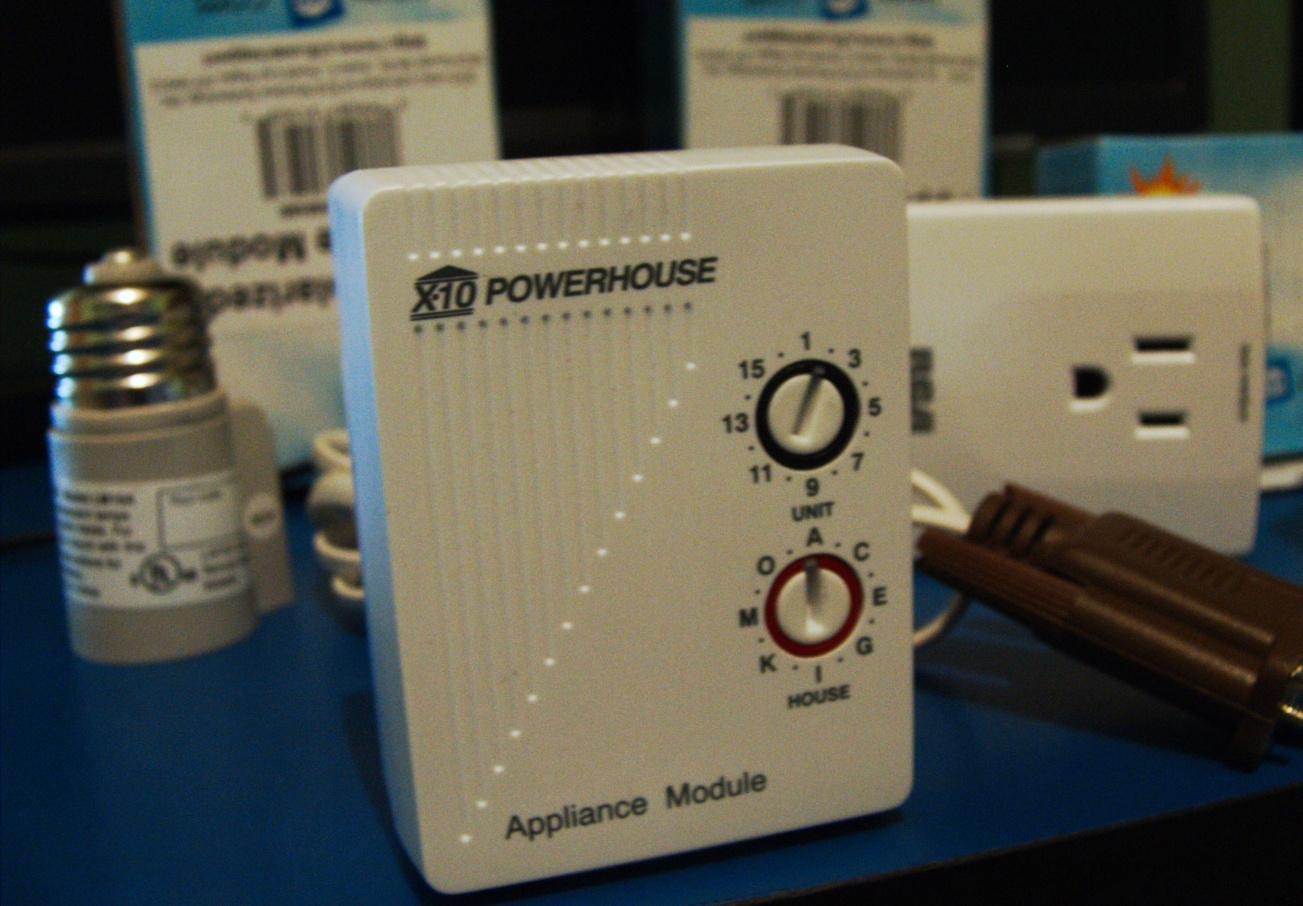
    Smart thermostat mounted on a hallway wall showing temperature and schedule controls
    Choose a thermostat that matches your home’s system, not just the shiny feature list.

    The good news: the right smart thermostat can make your home more comfortable and more efficient without adding interface friction to everyday life. The U.S. Department of Energy notes that scheduling, occupancy-aware control, and remote access are the big practical wins, while recent Consumer Reports coverage reminds buyers that compatibility and household habits matter just as much as the app. That is the boring magic here: the best model is the one your home can actually use well.

    What a smart thermostat actually does

    At its core, a smart thermostat gives you four helpful tricks:

    • Scheduling: Set temperatures for sleep, work, and wake-up times.
    • Remote control: Adjust the temperature from your phone when plans change.
    • Occupancy sensing: Some models notice when people are home and can respond accordingly.
    • Energy tracking: Many apps show heating and cooling patterns so you can spot waste.

    The Department of Energy’s overview of programmable thermostats explains why these features matter: heating and cooling are major energy users, and smarter scheduling can reduce waste without turning your house into a cave. Read the DOE guidance on programmable thermostats.

    Check compatibility before you get wooed by the app

    This is the part where many buyers accidentally fall in love with a feature list and forget the HVAC system has opinions. Before buying, confirm:

    • Whether your home has a conventional furnace and central air, a heat pump, or a multi-zone setup
    • Whether the thermostat supports your wiring, including a C-wire if needed
    • Whether you need control for multiple zones or separate systems
    • Whether your current setup includes accessories like humidifiers or ventilators that need support

    DOE’s home upgrades guidance is a useful reminder that heat-pump and system compatibility are not tiny details. They are the difference between a smooth install and a thermostat that acts like it is technically employed but emotionally unavailable.

    If you want a practical next step, use the compatibility checker from the manufacturer you’re considering, then compare that with your HVAC model number. If the numbers do not match up, the thermostat is not “advanced.” It is just decorative.

    Choose features that fit your household, not your ego

    Some homes need heavy automation. Others need a very calm interface and a few sturdy presets. A good thermostat choice usually depends on who lives there and how predictable their routines are.

    Household need Features to prioritize Why it helps
    Busy family home Scheduling, app alerts, easy manual override People can adjust temperatures without starting a support ticket with the wall
    Frequent travelers Remote access, geofencing, vacation mode Lets you lower usage when nobody is around
    Energy-conscious homeowners Usage reports, smart scheduling, setback reminders Makes patterns visible so you can trim waste
    Homes with guests or multiple users Simple app, clear on-device controls, voice assistant support Less confusion, fewer accidental temperature battles

    Consumer Reports’ recent coverage on whether smart thermostats are worth it makes a useful point: the answer depends on your routines, your HVAC system, and whether you’ll actually use the controls well. See Consumer Reports’ current thermostat buying guidance.

    Think about the ecosystem, not just the thermostat

    A thermostat rarely lives alone. It usually wants friends: a voice assistant, a mobile app, maybe a broader smart-home platform. If you already use smart lighting or other connected devices, it helps to choose a thermostat that plays nicely with the rest of the household orchestra.

    Look for support for the systems you already use, such as Matter-compatible products or the voice assistant in your kitchen that always hears you better than the humans do. If your home is already moving toward broader smart-home control, it may be helpful to review how a thermostat fits into the bigger plan on our smart home solutions page and our smart lighting solutions page.

    For a broader look at the standard, the official Matter overview is a helpful neutral reference: Matter smart home interoperability.

    Will it save money?

    Sometimes. Not always. That is the most honest sentence in the thermostat aisle.

    Smart thermostats can help reduce wasted heating and cooling when they are set up well and used consistently. They are most useful when your household schedule changes, when no one is home for long stretches, or when your old thermostat has been doing the temperature equivalent of freestyle jazz. But if your habits are already efficient and your current system is simple, the savings may be modest.

    That is why the best question is not “Will this save money?” but “Will this save money in my home, with my HVAC, with my habits?” The answer lives in the overlap, not in the marketing brochure.

    Installation and setup: DIY is fine until it isn’t

    Many smart thermostats are designed for straightforward replacement, especially if you are swapping one compatible wall unit for another. If you are comfortable turning off power, labeling wires carefully, and following the manufacturer’s guide step by step, DIY may be reasonable.

    Call a professional if any of these apply:

    • You are unsure about system compatibility
    • Your home uses a heat pump, multi-zone setup, or accessory equipment
    • You do not have a C-wire and the instructions are unclear
    • The wiring looks like a spaghetti policy memo from a very organized raccoon

    For safety and system reliability, keep the work within the thermostat’s instructions. This is not the moment to become a heroic electrician in socks.

    A quick checklist for different homes

    • Apartment: Choose a simple model with easy scheduling and strong manual control.
    • Family home: Prioritize scheduling, geofencing, and an app everyone can understand.
    • Heat pump system: Confirm explicit heat-pump support before buying.
    • Energy-saving focus: Look for usage reports, occupancy features, and flexible scheduling.
    • Smart-home enthusiast: Make ecosystem compatibility a top decision factor.

    Bottom line

    The right smart thermostat is not the one with the longest features page. It is the one that matches your HVAC system, your household habits, and your comfort goals without making daily life weirdly difficult. If you start with compatibility, then choose the features your home will actually use, you are far more likely to get a thermostat that feels useful instead of merely impressive.

    If you are comparing broader smart-home upgrades, you may also want to explore our energy efficiency and sustainability page or start from the home page. For questions about the right next step, contact us and we’ll keep it simple.

  • A Practical Checklist for Sustainable Home Improvements

    A Practical Checklist for Sustainable Home Improvements

    Building a more sustainable home doesn’t have to feel like designing a spaceship. This practical checklist helps you plan improvements in a smart order—starting with the easiest wins, then moving toward projects that improve comfort, efficiency, and long-term maintenance.

    If you’re searching for a way to prioritize upgrades, you’ve probably asked:

    • Where do I start if my budget is limited?
    • What improvements actually affect daily comfort and energy use?
    • How do I avoid getting halfway through a project and realizing I bought the wrong materials or controls?
    • When should I involve a professional?

    According to the U.S. Department of Energy, the biggest home performance gains often come from addressing building envelope and heating/cooling basics—not just swapping individual devices (Energy Saver). The U.S. EPA also notes that energy efficiency upgrades can reduce energy waste and improve comfort while lowering emissions (ENERGY STAR).

    By the end, you’ll have a step-by-step plan and a printable checklist to sort projects by impact and budget—without overwhelm.

    Table of contents

    1) Start with the easiest, low-cost improvements

    Before you buy anything expensive, do the “boring magic” checks. Small changes can remove inefficiencies that later renovations would otherwise have to compensate for.

    Quick wins that usually matter

    • Fix drafts and sealing gaps (common around windows, exterior doors, and attic/utility penetrations).
    • Use smart schedules for heating and cooling so the system isn’t fighting your calendar.
    • Upgrade to efficient lighting and set the right brightness and color temperature for tasks (see Smart Lighting Solutions).
    • Make sure filters and vents are clean and unblocked so air can actually move.
    • Reduce hot-water waste with simple habits and targeted fixture updates.
    \"Exterior

    2) Identify comfort, energy, and maintenance goals

    Think of your home like a three-part scoreboard:

    • Comfort: temperature stability, airflow, humidity, glare, noise.
    • Energy: heating/cooling demand, standby loads, water heating efficiency.
    • Maintenance: longevity, fewer recurring problems, easier upkeep.

    Write down your top goals in plain language. “Less stuffy upstairs” is better than “increase air changes per hour.” Your checklist will get sharper when you can describe the problem you’re trying to solve.

    Tip: match projects to the score they improve

    Project idea Comfort Energy Maintenance
    Air sealing Consistent temperatures Lower heating/cooling loss Fewer drafts-related issues
    Insulation upgrades Reduced cold spots Lower energy demand Better system efficiency over time
    Window improvements Less drafts and discomfort Reduced heat transfer Improved durability
    Efficient lighting and controls Better visibility and mood Lower electricity use Longer bulb life
    Water heating upgrades Reliable hot water Lower energy for hot water Reduced scale and wear

    If you want background guidance on the “why” behind efficient choices, this pairs well with Energy Efficiency and Sustainability.

    3) Rank projects by impact and budget

    When your budget is finite, you want the highest “value per hassle.” A simple ranking method keeps decisions from turning into a spreadsheet-shaped storm.

    Use this 2-minute scoring worksheet

    For each project, score 1–5 on:

    • Impact (comfort and/or energy)
    • Effort (time, disruption, complexity)
    • Dependencies (does it require earlier envelope work?)
    • Longevity (will it still make sense in 5–10 years?)

    Then prioritize in this order:

    1. High impact + low effort (easy wins that remove major waste)
    2. High impact + medium/necessary effort (projects that unlock other improvements)
    3. Low impact or high effort (save for later or when you’re already renovating)

    A key rule: if a project only addresses symptoms, it usually belongs after you’ve handled the underlying causes (like envelope losses or inefficient system control).

    4) Coordinate materials, controls, and lighting choices

    Many sustainable upgrades don’t deliver their best results because components weren’t planned to work together. Coordinate before you buy.

    Plan the “system around the system”

    • Match lighting plans to your daily habits: brighter task lighting where you work, warmer tones for relaxation, and dimming where appropriate.
    • Choose controls with real schedules: if you won’t use the app, don’t design your home around an app you’ll ignore.
    • Check compatibility and wiring needs before committing to devices.
    • Think in sequences: air sealing and insulation often come before window upgrades, and major HVAC changes may depend on envelope performance.

    If you’re building a plan across multiple rooms, keep notes for each area: what changes, what stays, and what needs to be coordinated.

    5) When to consult a professional

    Not every decision needs a contractor—but some upgrades are easier (and safer) with expert help. Consider professional support when:

    • Projects involve major envelope changes (large air sealing work, insulation in complex cavities, window replacement).
    • You’re dealing with HVAC or ductwork adjustments where airflow and balancing matter.
    • There are existing moisture or indoor air quality concerns that you need to understand before modifying systems.
    • You want an energy assessment to locate the highest-impact issues first.

    For practical next steps, you can also reach out via Contact and describe what you’re planning—then we can help you clarify priorities.

    A printable-style planning checklist

    Use this as a one-page plan. Check boxes, add notes, and keep it next to your materials list.

    Baseline (Week 1)

    • [ ] Walk the home for obvious drafts, gaps, and blocked vents
    • [ ] Confirm lighting fixtures and switches in each room
    • [ ] Review heating/cooling settings and recent utility bills (if available)
    • [ ] Note comfort issues: hot/cold rooms, humidity, glare, noise

    Goal setting (Week 1–2)

    • [ ] Rank top 3 comfort goals
    • [ ] Rank top 3 energy goals
    • [ ] Identify maintenance pain points you want to reduce

    Project list + ranking (Week 2)

    • [ ] Create a list of candidate projects
    • [ ] Score each project (impact, effort, dependencies, longevity)
    • [ ] Pick your “Phase 1” projects (highest value first)

    Coordination (Week 2–4)

    • [ ] For each selected project: note what it affects in other rooms/systems
    • [ ] Decide on lighting goals by area (brightness and color temperature)
    • [ ] Confirm control approach (manual vs scheduled, sensors vs switches)
    • [ ] Collect product/model specifications and installation requirements

    Execution + review (After installation)

    • [ ] Verify outcomes against your original comfort goals
    • [ ] Update schedules and usage habits
    • [ ] Document what was installed and where (for future upgrades)

    Conclusion

    Sustainable home improvements don’t have to be overwhelming. Start with easy, low-cost changes that reduce waste, define what “better” means for your comfort and maintenance, and then rank projects by impact and dependency. When upgrades are coordinated—materials, controls, and lighting included—you’re far more likely to get results that feel good in real life.

    Try this: pick one room today, note one comfort issue and one simple lighting/usage change, and add it to your printable checklist. Tiny moves make the next decision easier.

    Sources: U.S. Department of Energy — Energy Saver, ENERGY STAR — Home Energy.